Creating your own wiring harness can seem daunting, but it’s a rewarding project that offers both customization and cost savings. Whether you’re working on a classic car restoration or a DIY electronics project, understanding the basics of wiring harness design is essential. This guide will walk through the necessary tools, materials, and steps to help anyone craft a reliable wiring harness tailored to their specific needs.
Understanding Wiring Harnesses
A wiring harness is an organized set of wires, terminals, and connectors that systematically transmit electrical power and signals. This component plays a crucial role in any electrical system, ensuring reliable communication between various parts. Cloom Tech specializes in high-quality custom wiring harnesses that enhance efficiency and reliability across industries.
What Is a Wiring Harness?
A wiring harness consists of multiple wires bundled together, often surrounded by protective coverings. Each wire serves a specific function, such as power distribution or signal transmission. These assemblies connect various electrical devices within vehicles or equipment, allowing them to operate efficiently. Using a wiring harness simplifies complex connections, reducing the risk of errors during installation and maintenance.
Importance of Custom Wiring Harnesses
Custom wiring harnesses offer several benefits tailored to specific applications. They improve system reliability by minimizing loose connections or faulty wiring. Customization allows for precise integration with unique designs, particularly in projects like classic car restorations or specialized electronic systems. Additionally, tailored harnesses optimize space usage, contributing to cleaner installations and improved overall functionality.
Materials Needed for Your Wiring Harness
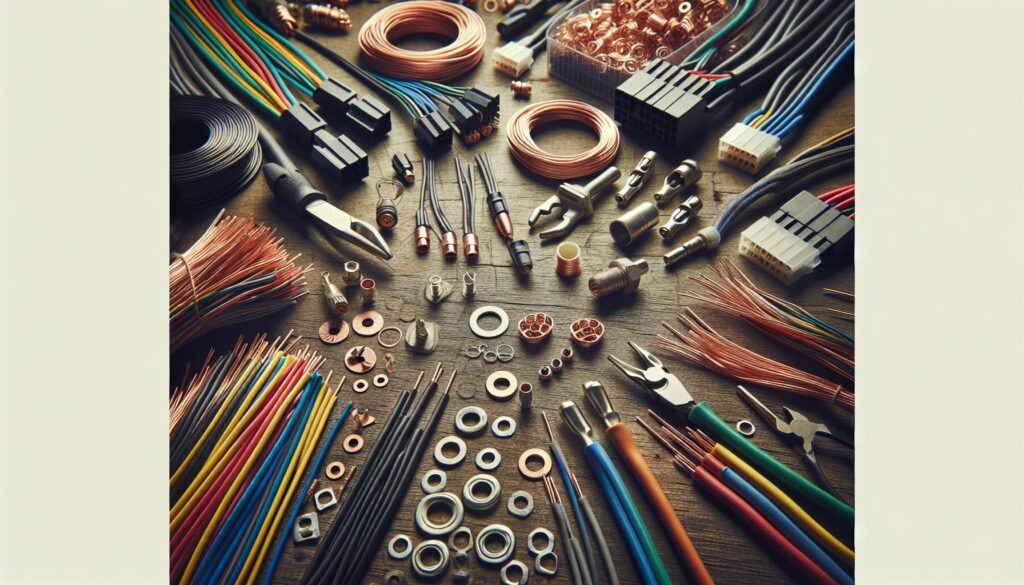
Creating a wiring harness requires specific materials to ensure functionality and reliability. Proper selection of these components leads to a successful project.
Types of Wires
Choosing the right wire type is crucial. Common options include:
- Copper Wire: Excellent conductivity, often used for most applications.
- Stranded Wire: Composed of multiple small strands, offering flexibility for tight spaces.
- Solid Wire: Offers durability and is ideal for stationary installations.
- High-Temperature Wire: Designed for high heat applications, ensuring safety in extreme conditions.
Connectors and Terminals
Selecting appropriate connectors and terminals enhances connectivity. Key types include:
- Ring Terminals: Provide a secure connection to a bolt or screw.
- Spade Terminals: Facilitate quick connections and disconnections.
- Butt Connectors: Join two wires together without soldering.
- Pin Connectors: Ideal for compact applications, ensuring reliable connections.
Insulation and Sheathing
Proper insulation and sheathing protect wires from damage and interference. Common materials include:
- Heat Shrink Tubing: Offers a tight seal and insulation when heat is applied.
- PVC Sheathing: Standard for general applications, providing moderate protection.
- PTFE Insulation: Excellent for extreme temperatures and chemicals, ensuring long-lasting durability.
- Fabric Sheathing: Provides flexibility while protecting wires from abrasion.
Selecting these materials carefully ensures the wiring harness functions reliably and meets specific project requirements.
Step-by-Step Guide on How to Make Your Own Wiring Harness
Creating a wiring harness involves specific steps to ensure functionality and safety. Each stage includes essential tasks, from planning through assembly.
Planning Your Design
Planning requires determining the wiring harness’s purpose and layout. Identify the electrical components involved, such as switches, lights, or sensors. Create a schematic diagram to outline wire paths and connections. This diagram serves as a visual guide, allowing for easy identification of each wire’s route and connections. Utilizing software or graph paper can improve accuracy during this process. Proper planning streamlines assembly and minimizes errors.
Cutting and Stripping Wires
Cutting and stripping wires demands precision. Begin by measuring the length of each wire according to the schematic. Use wire cutters to make clean cuts, ensuring no fraying occurs. Next, strip the ends of each wire to expose about 1/4 inch of copper. Employ wire strippers to avoid damaging the wire. Perform this task for all wires involved, ensuring uniformity and readiness for connection. This step establishes secure connections in the final assembly.
Assembling the Connectors
Assembling connectors requires careful attention. Match each stripped wire with the appropriate terminal based on the design. Insert the wire into the terminal and use a crimping tool to secure the connection. Double-check that the terminal fits snugly to prevent accidental disconnection. Labeling connectors can further simplify future installations or repairs. This meticulous assembly ensures reliable electrical connections crucial for the performance of the wiring harness.
Tips and Best Practices
Creating a wiring harness requires attention to detail and adherence to specific methods for optimal results.
Safety Precautions
Safety plays a crucial role in the wiring harness creation process. Always wear safety glasses and gloves to protect against injury from sharp tools and wire ends. Use insulated tools to minimize the risk of electrical shock. When working with soldering equipment, ensure proper ventilation to avoid inhaling fumes. Keep the workspace tidy to prevent accidents and make sure to follow local electrical codes and regulations.
Ensuring Quality Connections
Quality connections directly impact the reliability of a wiring harness. Always strip wires to the correct length, exposing sufficient copper without damaging the wire insulation. Utilize the right crimping tool for connectors, ensuring a strong mechanical connection without excessive force. Test connections using a multimeter to confirm continuity and integrity. Label connectors clearly to assist with future modifications or repairs, which aids in maintaining system efficiency.
Conclusion
Creating a custom wiring harness is not just a practical skill but also an opportunity for creativity and personalization. By understanding the fundamentals and following the outlined steps, anyone can craft a reliable and efficient harness tailored to their specific needs.
Attention to detail and the right materials are key to ensuring the harness performs well and stands the test of time. With careful planning and execution, the process can be both enjoyable and rewarding.
Whether it’s for a classic car restoration or a DIY electronics project, mastering this craft opens up a world of possibilities for enhancing electrical systems. Support the challenge and enjoy the satisfaction that comes from building something distinctly yours.
Frequently Asked Questions
What is a wiring harness?
A wiring harness is an organized set of wires, terminals, and connectors that transmit electrical power and signals. It simplifies complex electrical connections, reducing installation and maintenance errors.
Why should I create a custom wiring harness?
Creating a custom wiring harness improves system reliability, optimizes space, and allows for precise integration with unique designs. It’s particularly beneficial for classic car restorations and specialized DIY electronics projects.
What materials do I need to make a wiring harness?
Essential materials include various types of wires (copper, stranded, solid), connectors (ring, spade, butt), and insulation options (heat shrink tubing, PVC sheathing). Choosing the right components ensures functionality and durability.
What are the steps to create a wiring harness?
Start by planning your harness’s purpose and creating a schematic diagram. Cut and strip wires with precision, assemble connectors using a crimping tool, and label connections for easier future modifications.
What safety precautions should I take while making a wiring harness?
Wear safety glasses and gloves, use insulated tools, and ensure proper ventilation when soldering. Attention to detail and testing connections with a multimeter are also crucial for safety and reliability.